
Author: Roy Roeven
How to split an STL file for 3D printing
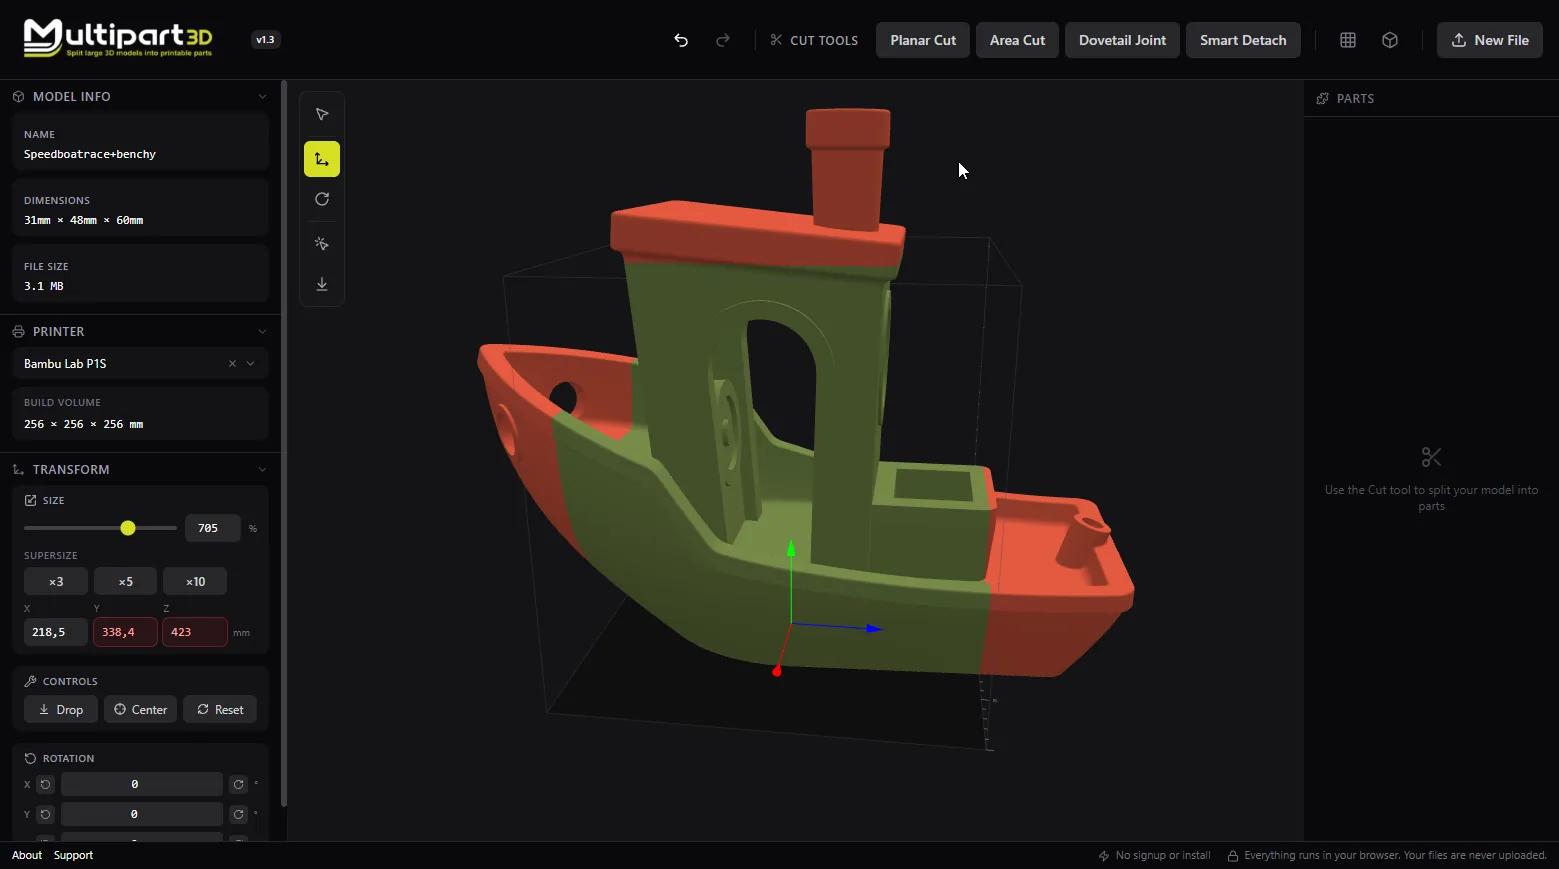
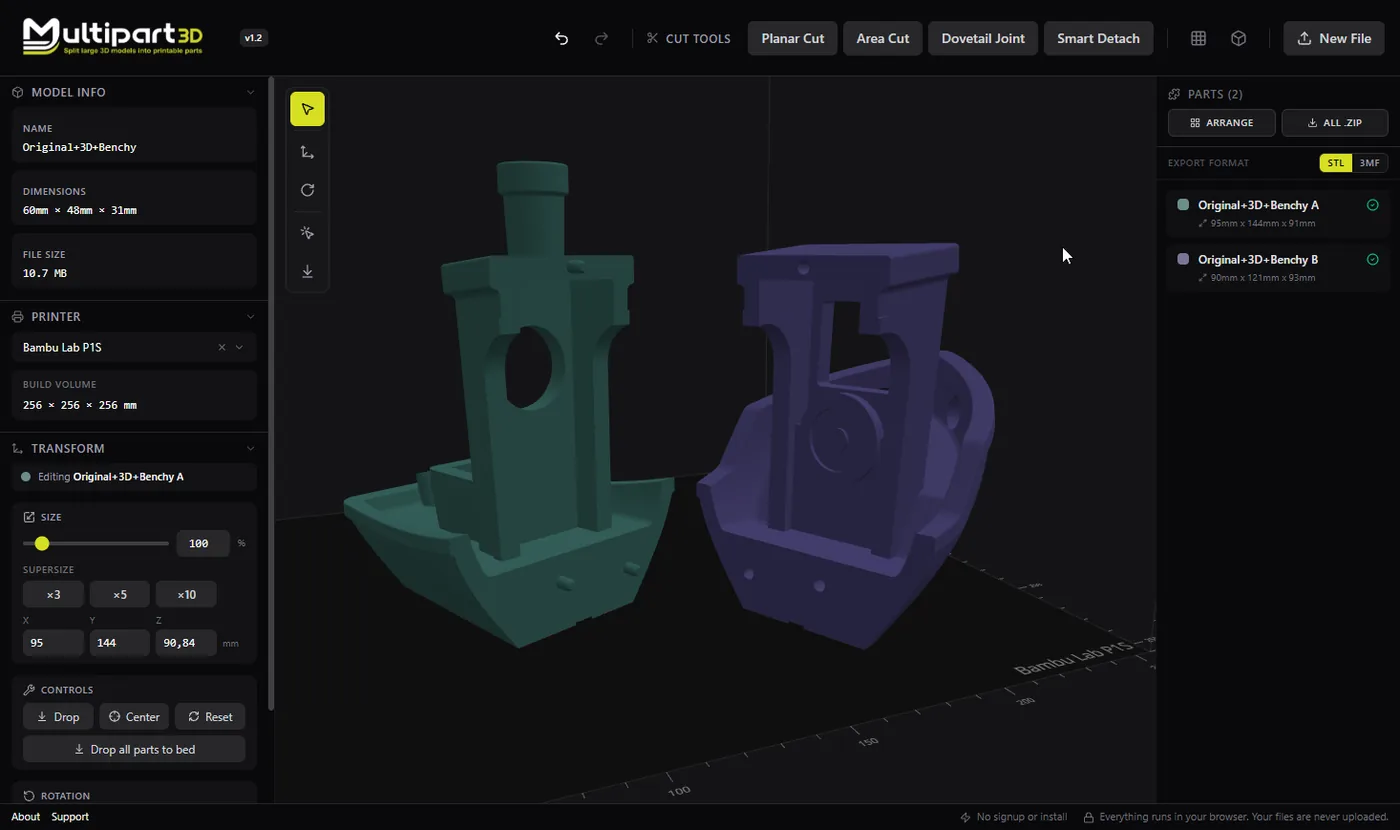
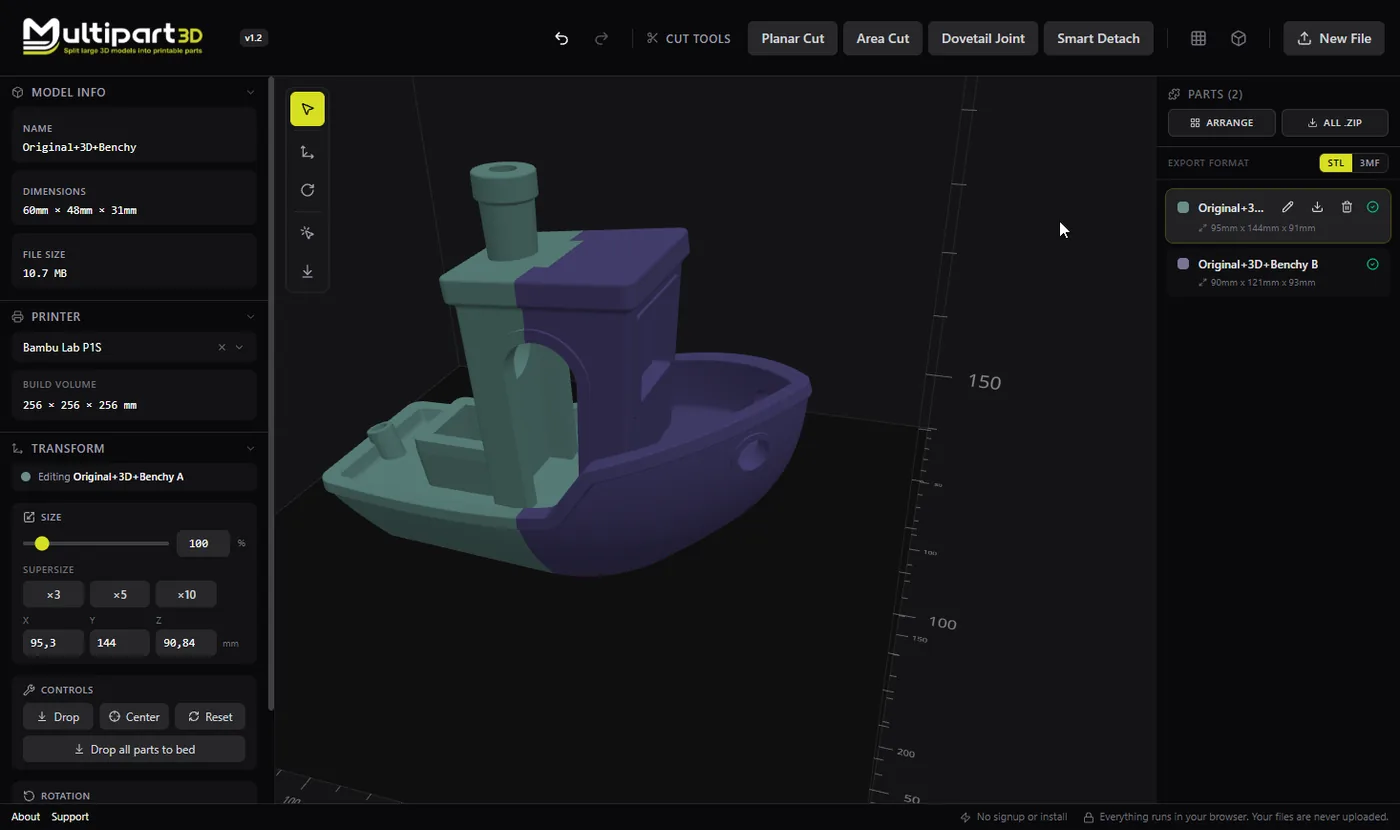
This example uses Benchy, scaled up and placed on a Bambu Lab P1S. The bed is 256 mm, and the boat does not fit, so it has to be cut, printed in pieces and put back together. This is the whole job: what to try before you cut, where the seam should go, how to make the cut in your slicer or in Multipart3D, and how to join the parts so they line up.
Before you cut
A cut is permanent in the exported file and leaves a seam you will see. So start with the moves that leave the mesh alone.
Check the volume you can actually use. The number on the box is the travel of the axes. Your slicer subtracts a purge line, a skirt or brim, and on some printers an exclusion zone in one corner. The bounding box of the mesh is also often larger than the visible model, because a stray triangle or a flat base extends it. Load the file in the slicer and look at where it goes red before you assume it does not fit.
Rotate it. A long thin part frequently fits on the diagonal of the plate when it does not fit along X or Y. A tall bust sometimes fits when you tip it over. Tipping creates overhangs and support, and on a face that can cost more surface quality than a seam would. Try both and look at the preview before you decide.
Scale it, if the size is allowed to change. A decorative statue at 92% is still the statue. A helmet that has to fit a head is not. If you scale, scale uniformly, and check that thin walls are still thick enough to print.
If the model is still outside the plate after those three, you are splitting. The rest of this guide is how to do that well.
Where to put the seam
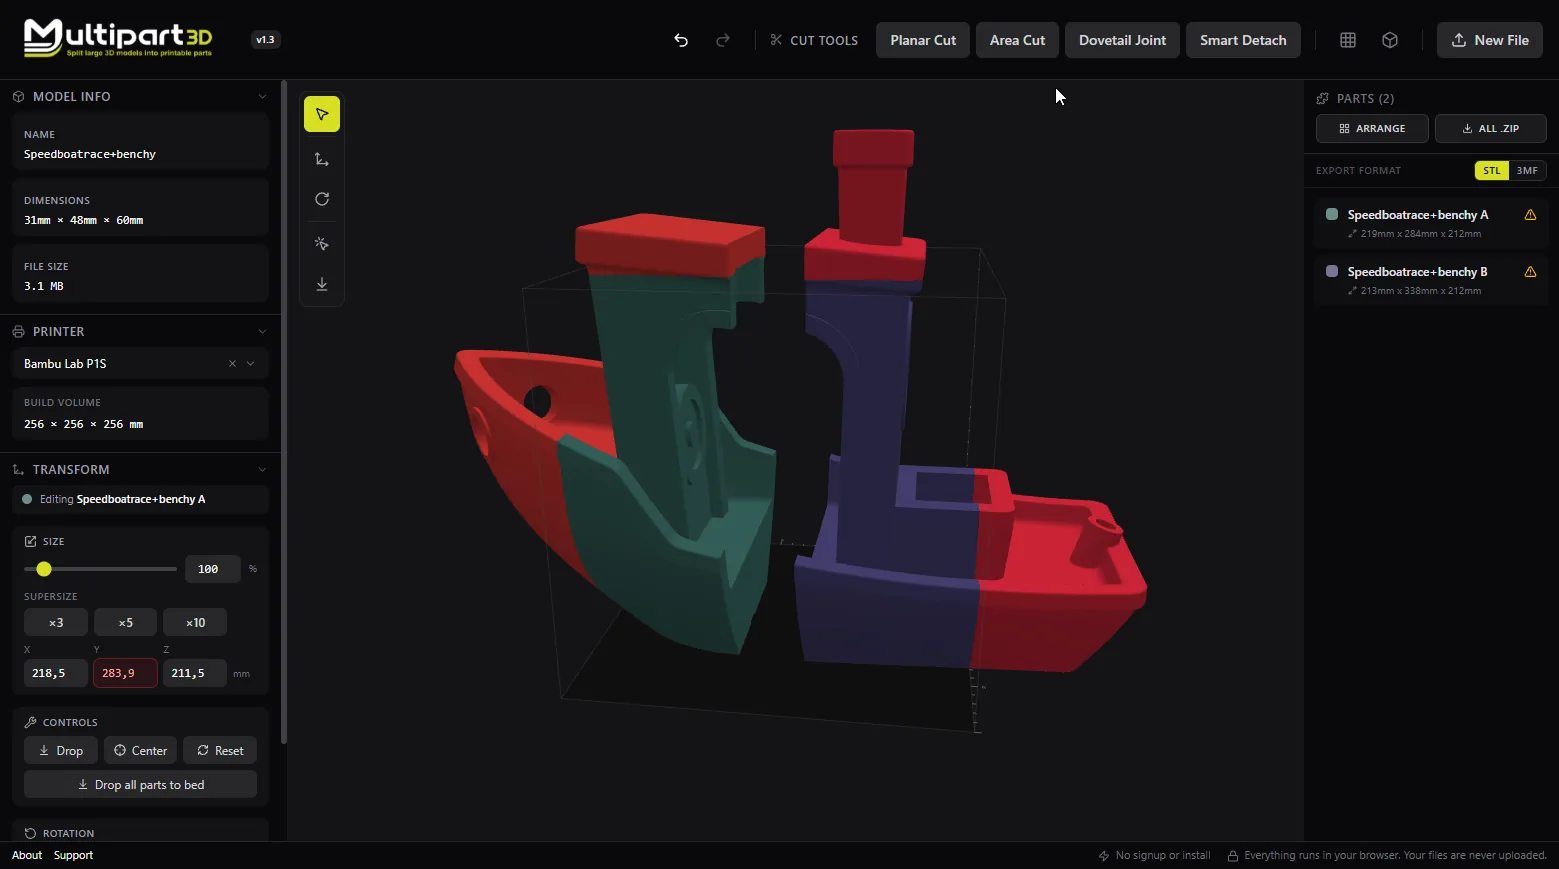
Put the seam where it is easiest to hide or easiest to sand. Under a rim, along a panel line the model already has, through a surface that will be painted, across the back rather than the face. A vertical plane down the middle of a helmet runs through the crest, where the two halves meet on a ridge that was always going to be filled and sanded anyway.
Think about the print orientation of each piece at the same time. A cut face is a large flat surface, and that makes a good first layer. If the seam gives both halves a flat base, you have removed most of the support from the print as well.
Not every split is one straight plane. The job decides the kind of cut.
A flat plane through the whole model is the usual answer for an oversized solid. Two halves, two flat faces. That is a planar cut, and every slicer with a Cut tool does this one.
Two or three planes when one piece is still too big. A tall helmet is often a top, a middle band and a face. Multipart3D has no automatic “cut this to fit my bed”; that is on the roadmap, and tools like Split3r, 3D Splitter and stl-splitter.com already do it. You place each plane yourself, which is more work and also the only way to choose where the seams go.
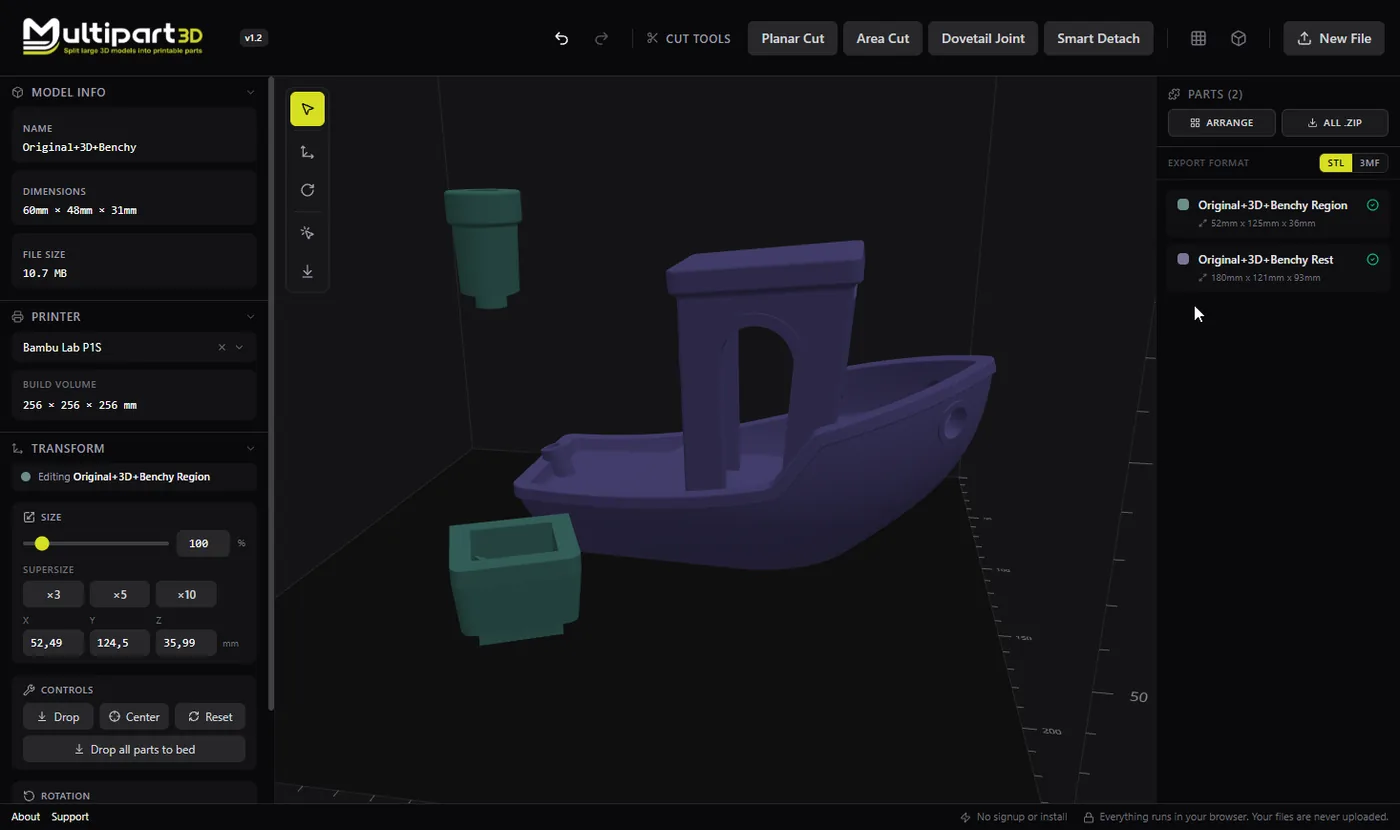
A cut that only affects part of the surface. A hatch, a battery lid, a panel you want removable. A full plane would slice the whole model; an area cut limits the plane to a rectangle or a circle, and the rest of the mesh stays in one piece.
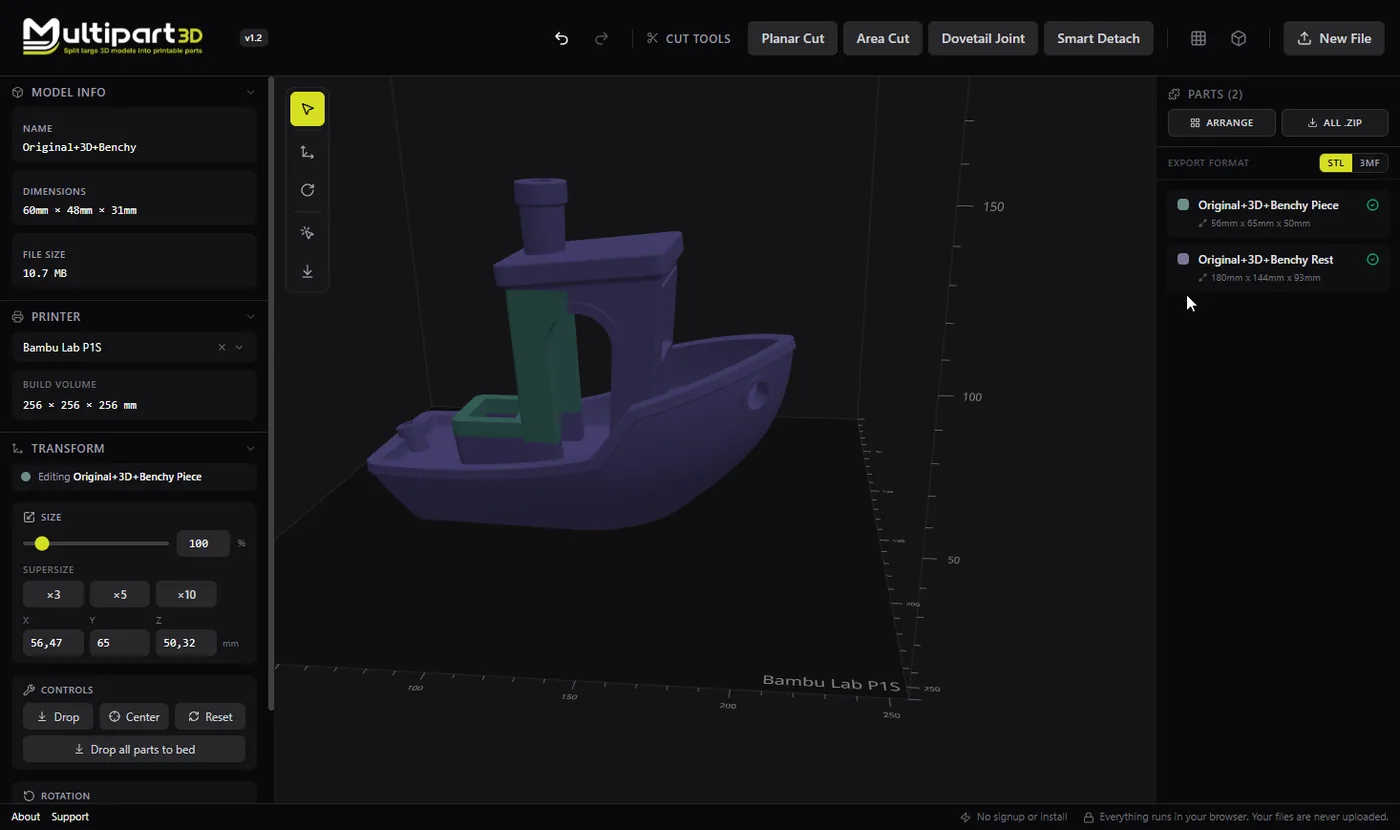
A feature you can point at. The chimney on a Benchy, a horn, a handle, an antenna. These have a natural boundary where they meet the body, and following that crease is cleaner than trying to place a plane through it. That is what Smart Detach is for.
Colors. If you painted a model in Bambu Studio, OrcaSlicer or PrusaSlicer and saved a 3MF, the paint regions can become separate parts, which is how you print a multicolor model on a single-extruder printer. Separate by Color does this from the 3MF. An STL carries no color, so this one is 3MF only.
Cutting in your slicer
Bambu Studio, OrcaSlicer and PrusaSlicer share the same Cut tool, with small differences. Cura is the exception: it has no cut tool at all. If you only need one flat plane and a plug or dowel, and you are already in one of the first three, you can do the whole thing there.
Bambu Studio
Select the object and press C, or click the Cut icon in the toolbar. A plane appears on the model. Drag it to the height you want and rotate it if the seam should not be level. You can keep the upper part, the lower part or both, and keep them as separate objects or as parts of one object.
Connectors are added by clicking on the plane while the Cut tool is open. The types are Plug, Dowel and Snap. A plug is a peg on one half and a matching socket in the other. A dowel is a socket in both halves plus a separate pin you print. A snap clicks in and resists pull-out.
Dovetail mode replaces the flat seam with one interlocking trapezoid. You set depth, width, flap angle and groove angle. It is one dovetail per cut. Since Bambu Studio 2.8.2.60 the model’s paint survives a dovetail cut. After cutting, Studio may warn about non-manifold edges and offer to fix them; accept that before slicing.
The plane is infinite. There is no way to limit it to a region of the model. A bounded cut is an open feature request, Bambu Studio issue 10804. Subtracting a box as a negative part is not a substitute, because the result has no connector workflow.
OrcaSlicer
The same tool, since Orca descends from Bambu Studio. Press C, place the plane, add Plug, Dowel or Snap connectors or switch to Dovetail. Connector shapes include circle, square, hexagon and triangle; anything other than a circle stops the parts from rotating against each other. Depth, size and a tolerance are on the panel.
OrcaSlicer 2.4 adds something the others do not have: more than one dovetail along a single seam, with a Count and a Gap. A long flat seam that would rock on one tail can take two or three. If your build has no Count and Gap controls, it predates that change; one dovetail still works.
PrusaSlicer
PrusaSlicer 2.9 has had this Cut tool since 2.6, and it is where the design came from. Select the object, press C, and choose Planar or Dovetail at the top of the panel.
In Planar mode you add Plug, Dowel or Snap connectors with a left click on the plane and remove them with a right click. Style, shape, depth, size and rotation are adjustable, and Flip cut plane swaps which side gets the peg. A tolerance setting loosens or tightens the fit.
Dovetail mode is one trapezoidal pin and groove. You can move where the tail sits along the seam and set its size. Dovetail mode does not take connectors, so teeth plus a magnet is not a combination this tool offers.
Cura
UltiMaker Cura 5.13 cannot cut a model. There is no plane, no connector, and no way to export two halves. The Cut icon you may be looking for does not exist in Cura.
Cura does have “Split model into parts”, also provided by the Mesh Tools plugin under Extensions. That separates bodies that are already disconnected in the file, such as a figure and a base that were exported together. On a single solid there is nothing for it to separate, and the menu item is greyed out.
You can still print part of a model without cutting it. In Preferences, turn off “Automatically drop models to the build plate”. Move the model down so the half you do not want sits below the plate, and slice. Cura only generates toolpaths for what is above the plate. Print that, then flip the model and print the other half. The Banana Split plugin in the Marketplace automates this by mirroring the sunk portion so both halves print in one job. Either way you get two prints, not two files, and no connector.
When you want proper halves with a plug or a dowel, cut the mesh in another program and bring the parts back into Cura to slice. Multipart3D runs in the browser and exports STL, so that round trip is short.
When the slicer is not enough
The slicer Cut tools are good at exactly one thing: a plane through the whole model with a plug, dowel or snap on it. Most oversized prints need nothing more. The cases below are where you will want a mesh tool, and Multipart3D covers them without CAD. It is not a slicer; you export STL or 3MF and slice where you always do.
You use Cura. There is no cut to do inside it, so the cut happens before the file reaches Cura.
Only part of the surface should come off. The area cut above is the tool.
The piece is a feature, not a slice. Smart Detach follows the crease where a chimney or a horn meets the body. Convex and flat edges are always crossed; a concave crease stops the selection unless it is shallower than the threshold, which runs from 5 to 120 degrees. Auto picks a stable boundary for the click. It cannot jump a gap, so two loose shells that only happen to share a file are not what it separates.
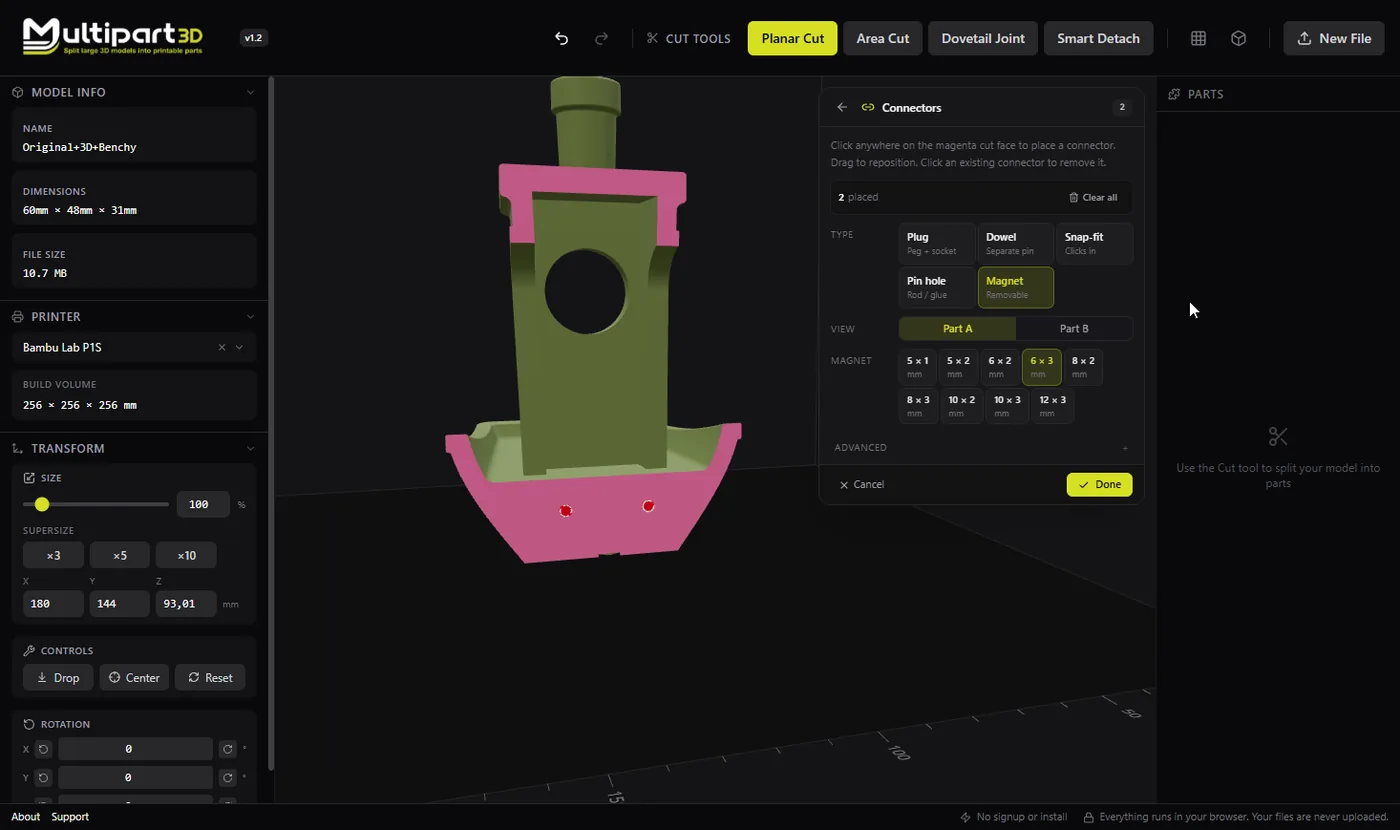
You want a magnet pocket, or a hole for a rod. The slicer connectors stop at plug, dowel and snap. Connectors in Multipart3D add magnet pockets with 6×3, 8×2 and 10×3 mm presets, and pin holes straight through both halves for a steel rod or a bamboo skewer.
You want several dovetails and you are not on an OrcaSlicer build with Count and Gap. Dovetail Cut puts a row of teeth in the seam with the tooth size set for your printer’s clearance.
You have a painted 3MF and want one part per color. Separate by Color, from the 3MF, as described above.
Joining the parts
A split that does not go back together is a failed split. Decide how the parts will join while you are placing the seam, because the joint needs flat face to sit on and wall behind it.
Plugs, dowels and pin holes
A plug is the default for glued halves: a peg on one side, a socket on the other, and the parts can only go together one way. Choose a square or hexagonal plug when the two halves must not rotate against each other on a round seam. A frustum, which tapers, finds its own center as you push it in.
A dowel puts a socket in both halves and gives you a separate pin to print. Use it when you want to size the pin independently, print it in a tougher filament, or replace it later.
A pin hole is just a hole through both halves. Drop in a length of steel rod or a bamboo skewer and glue. For a large heavy prop that is often the strongest joint you can make, because the pin is not printed.
Dovetails
Teeth in the seam carry alignment by themselves and resist shear. They earn their place on parts that will be assembled and taken apart, or that must line up the same way every time: a helmet in two shells, a prop that ships in pieces, a long panel. They are the wrong choice when the seam crosses fine surface detail, because the tooth pattern is visible on the outside, and on soft organic shapes where a hidden plug and a flat seam will disappear under paint.
Leave clearance. Tight teeth weld themselves shut on an FDM printer. Print a short section of the joint first and adjust the tooth size before you commit the full part.
Magnets and snap-fits
Magnets are for parts that come off again: a visor, a lid, an accessory you swap. A flat-bottomed pocket in each half takes a disc magnet. Check polarity before the glue sets; it is the one mistake you cannot sand out.
Snap-fits click together and resist being pulled apart. PLA snaps fatigue and crack after a number of cycles, so use PETG or another tough filament for a joint that will be opened often.
Clearance
Every connector needs a gap between peg and socket or it will not go in. The slicers expose this as a tolerance value. Multipart3D uses presets: 0.15 mm, 0.20 mm and 0.30 mm for FDM, called tight, standard and loose, and 0.07 mm and 0.10 mm for resin, with a custom field for anything else. Standard is right for most printers that are reasonably well tuned. If a coupon welds shut, go one step looser rather than sanding the peg.
Printing and assembly
Print a coupon first. Cut a small block with the same connector and clearance, in the filament you will use for the real part, and test the fit. It takes twenty minutes and saves a twelve-hour reprint.
Put the cut face down when that face needs to be flat and accurate, which is usually the case. The first layer on a glass or PEI plate is the flattest surface your printer makes. If a cut face cannot be the first layer, make sure it is not an overhang either.
Dry-fit before glue. If the faces do not close, sand the faces, not the connectors. Once the fit is right, glue sparingly; a plug or dowel is already doing the alignment, so the glue only needs to hold. For PLA and PETG, cyanoacrylate is enough on a small seam, and a two-part epoxy is better on a large one that will be loaded.
Fill and sand the seam after the glue cures. If you placed it on a ridge or a panel line, that is a short job. If you placed it across a face, it is not, which is why the seam is decided before the first layer.
Quick reference
For a comparison of dedicated splitting tools, including automatic splitting to a build volume, see the STL splitter comparison. The feature pages have screenshots and step-by-step instructions for each technique mentioned here.
| Job | Where |
|---|---|
| One plane with a plug, dowel or snap | Bambu Studio, OrcaSlicer or PrusaSlicer Cut tool, or Planar Cut |
| Several dovetails on one seam | OrcaSlicer 2.4, or Dovetail Cut |
| You slice in Cura | Cut in Multipart3D, slice in Cura |
| Only part of a surface | Area Cut |
| A feature with a crease around it | Smart Detach |
| Magnet pocket or pin hole | Connectors |
| Painted 3MF, one part per color | Separate by Color |
| Automatic split to the build volume | Split3r or 3D Splitter; not Multipart3D yet |
Sources
Slicer behavior was checked against the vendor documentation in October 2026. Control names move between versions, so look at the panel in your own build before you plan around one.
PrusaSlicer: Cut tool, Prusa Knowledge Base. Bambu Studio: Cut tool, Bambu Lab Wiki, release notes 2.8.2.60, and issue 10804 for bounded cuts. Cura: the Mesh Tools plugin documentation for “Split model into parts”.